What is Flexographic Printing?

What is Flexographic Printing?

Flexographic printing is a very common form of label production used in the print industry. At a very high level, Flexographic printing is a process that allows for a customer to purchase large amounts of labels, at quick turnaround speeds, and at an economical cost for everyone involved. Sounds pretty good right? Lots of people also think it sounds like a good idea, and that is why this method is used by so many print vendors.

Where is Flexographic printing used?

Flexographic printing presses are usually only used by label vendors to provide labels to clients and resellers (As opposed to home use). At a professional level, there are many different types of printing presses to choose from. Flexo presses are attractive because of their affordability, and that is especially true compared to the start-up costs of buying a digital press. Flexographic printing also has the advantage of being able to print on many types of materials (Also known as substrates). Depending on the press and the shop, flexographic presses can print on paper, film, foils, cardboard, tags, pouches, textiles, and more! We specialize mostly in paper and film, but flexographic presses are used to provide labels for many different industries and are very ‘flexible’ in their services.

Where did Flexographic Printing come from?

The original version of the Flexographic press was patented in 1890 and evolved into a primitive European version that used rubber plates. A recent push in technological advances has allowed for flexographic presses to produce labels at the quality that offset presses could for years. This technology has allowed flexographic presses to arguably gain the edge on production speed, cost, and practical use. Many technology colleges currently offer courses that pertain solely to operating these types of presses, so Flexo printing is not going the way of the DoDo any time soon.

How Does It Work?

  1. An art file is sent over to our Art Department, and that art file is then developed into a film.
  2. The film is used to create the flexible plates that will be used to apply the individual colors to the stock material (also known as the substrate). We create our plates in-house to get faster turnaround times for our customers.
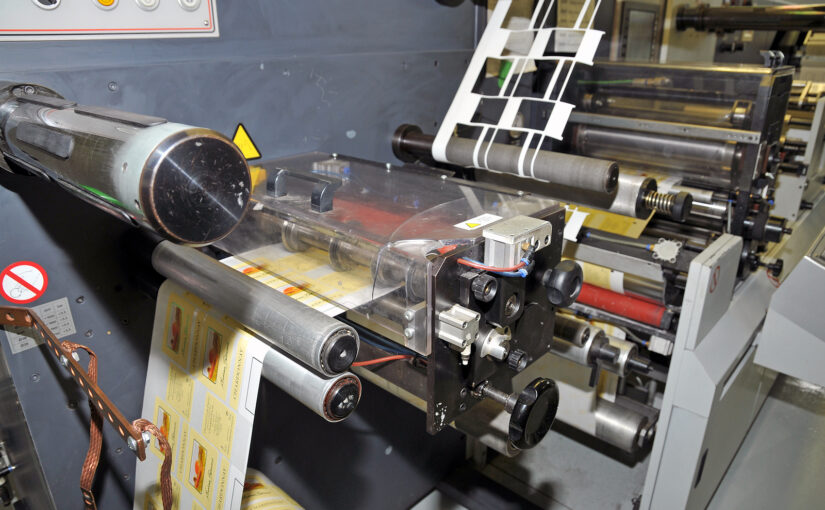
  3. The inks are then mixed and set in ink pans at each color station of the press. The inks are applied through a process that utilizes a few steps and pieces of machinery. The first 3 parts are responsible for getting ink out of the pan and started on its journey, and they are known as the fountain roller, doctor blade, and anilox roller. The fountain roller is a plain rubber coated cylinder that sits in the ink & rotates in a circle. The fountain roller then applies the ink to the anilox roller which has a bunch of tiny pores on it that are used to absorb the ink & apply it in the next part of the process. The doctor blade (being a giant razor blade) smooths out the ink on the anilox roller into an even coat.
  4. The ink is then applied to the plate cylinder via the Anilox and then the design is applied to the material via with the plate cylinder. The impression cylinder squeezes the material onto the plate thus creating an ‘impression’ of the artwork needed for that color station. All of these components must be installed and adjusted so that the print impression is applied perfectly.
  5. Now that the art is on paper, the labels need to be cut into their desired shape. This is accomplish through a piece of tooling called a die. A die is another cylinder that is solely used to cut out the desired shape and size of the label.
  6. The finished large roll of labels is then given to the finishing department to rewind and box the labels accordingly. (Or, it is stacked at the press station if the labels are printed in sheets).

Advantages and Disadvantages

Advantages of flexographic printing

  • Low cost of equipment
  • Fast run speeds
  • Can print on multiple material types
  • Lower costs of labels
  • Many color stations allows for the use of 4 color process and spot colors

Disadvantages of flexographic printing

  • Color matching not as accurate as hex colors on digital
  • Needs very skilled operators
  • More variance
  • Plate material is expensive compared to other plate types
  • Setup and clean up times are higher than digital

What is 4 color process printing?

What is 4 color process printing?

Where did four color process printing begin?

The father of 4 color printing was a man by the name of Jacob Christoph Le Blon from Frankfurt, Germany. He made his first prints with 3 colored plates in around 1710 and got patents for this printing method in 1716. He originally used RBY (red, blue, yellow) for the original template, but that transformed into the CMY (cyan, magenta, yellow) over time & was the platform for modern day process printing as we know it. 

What exactly is 4 color process?

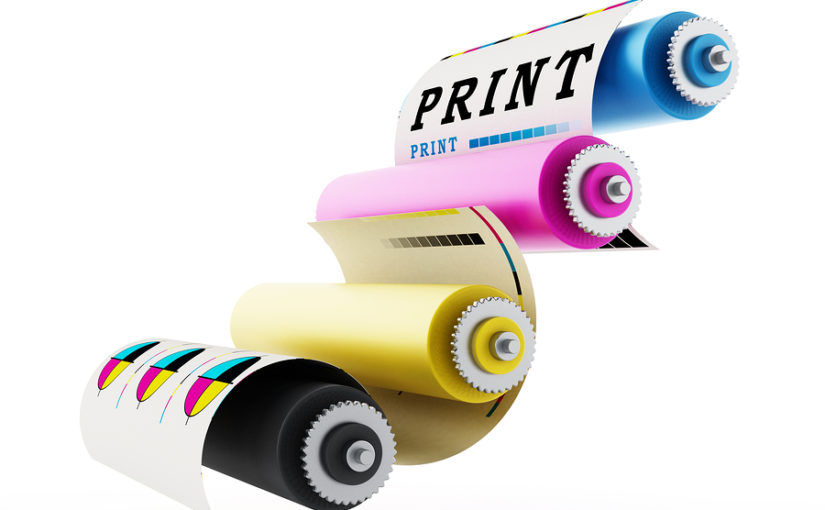
4 color process is an extremely popular option for commercial printing.  As it suggests, 4 colors (3 colors and black) are layered on top of each other to create the image that needs to be printed. The colors that make up 4 color process are commonly referred to as CMYK which stands for Cyan, Magenta, Yellow, and Key (Black). One plate is needed to make a black impression of the image and then color is applied using the rest of the plates. It is the job of the black (or key plate) to make the outline. In addition, if a print job requires a specific color that is not possible with CMYK, then a spot color is applied using an additional plate to achieve the desired result.
(Following examples of a spot color being applied, one CMY station, and the finished product below).

Plastic plates, colored dots, and your eyeballs

Essentially, 4 color process uses these plates to print tiny colored dots at different angles to create its vast array of colors. A much more exaggerated version of this would be old comic books. They were printed using 4 c/p, but the dots are actually very noticeable, whereas modern labelling methods require a magnifying glass to notice the dots at all. (You can find an article on that here, and again… it was cheap printing methods that led to these super exaggerated dots up until around the 70’s). Screens were actually used to create the dots in the tinted and shaded areas, but that is a printing topic for another day.
https://4cp.posthaven.com/in-defense-of-dots-the-lost-art-of-comic-book

The main thing we need to know is that the dots have become smaller and smaller through increases in technology over the years… So much so that the untrained eye has no idea what printing method was used.

Another interesting article can be found here https://www.exploratorium.edu/snacks/three-little-pigments and it explains the difference between the primary colors our eyes recognize (RGB) and how that is different from the secondary colors (CMY). It goes into detail about how light passes through CMYK & results in a final image. While this is not exactly what is going on in the printing process, it is still very interesting information to use as a reference point.

Why use 4 color process on a print job?

Pros:

  • Can get very close to reproducing many pantone colors
  • 4 color process is the only way to replicate the full spectrum of colors for complex images printed on web presses.
  • Extremely cost effective print method for production facility and clients. Using less inks results in less expense for everyone involved, and who doesn’t like saving money?
  • Can provide almost any color imaginable & even allows for gradients to a certain extent.

Cons:

  • Not every color can be achieved with 4 color process, and we refer to those colors as ‘spot’ colors. Colors might be less vibrant or a slightly different tone with 4 c/p. With detailed graphics or illustrations most people will not even notice the difference.
  • Some specific colors that cannot be produced with 4 c/p alone are silver, navy, orange, fluorescent hues, and metallic colors.
What Are Water Dissolvable Labels?

What Are Water Dissolvable Labels?

What Are Water Dissolvable / Soluble Labels?

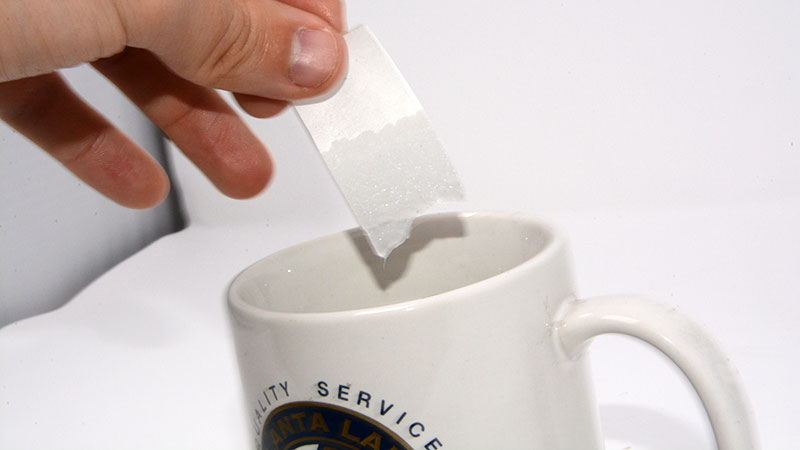
Water dissolvable labels (Also called wash-away labels) are pretty much what anyone would guess, because they are simply labels printed using materials and adhesives that dissolve in water. While it might not sound too impressive, the fact that an adhesive exists that can stick to surfaces normally and still dissolve effortlessly in water… is pretty miraculous.

Who Uses Water Soluble Labels?

There are quite a few reasons a company would want to use water dissolvable labels. A major reason is that dissolvable labels are eco-friendly, so anyone wanting to keep their product marketing ‘green’ would find this option attractive. Restaurants also use these labels regularly as food rotation labels or storage labels. This is smart for them because the labels wash away in industrial dishwashers without causing any build-up on the containers (or in the machines) whatsoever. The labels can also be resistant to the cold, so that makes for a great storage option.

Science labs and healthcare establishments are other common places you would find a dissolvable label being used. This is because reusable test tubes need to be labeled, so why would they not use labels that easily wash away from the tube or beaker? These labels are quite practical to the industries that use them, and it sure saves a bunch of time that would otherwise be spent scraping off residue left behind by other adhesives.

The popular formats for this label type are as follows:
Blank thermal labels, day-of-week labels, item shelf life labels, solid color labels, use by labels, and use first labels.

Interesting Facts About Dissolvable Labels

These labels do not need hot water to dissolve. In fact, these labels will fully break down in 30 seconds or less using any water temperature. Another interesting fact about dissolvable labels is the shelf-life. These labels only generally last 6 months after they are produced, so it would not be wise to order a ton of these and not use them. This is because the labels will start deteriorating on their own, so there is a limit to how long labels of this type can be stored.

Water dissolvable labels are also laser printer friendly, which means that they can be used in thermal transfer and direct thermal printing. Thermal printing options are popular for on-demand printing, so a restaurant would be able to use something like a direct thermal applicator to print onto provided blank labels on-site. This is incredibly common in certain industries (like the food industry), and just shows the versatility that modern dissolvable labels possess. 

Atlanta Label Can Provide

If you have any questions about dissolvable labels for your company’s needs, feel free to reach out. We would love to use our printing experience to get you the product labels you deserve. 

Pressure Sensitive Labels

Pressure Sensitive Labels

Don’t be intimidated by the name

The first time someone hears the phrase “Pressure Sensitive Labels” (myself included), it can be intimidating. A person might think that it is some sort of fancy pressure activated technology, and to an extent they would be right. It is not, however, exactly common knowledge outside of the labelling industry that almost 80% of all product labels are pressure sensitive & that it was just a fancy term for a self-adhesive sticker. Yes… in fact… “pressure sensitive” really is just the industry term for what most of us consider a normal sticker. This type of label is so dominant, that quite a few labelling companies only provide pressure sensitive label printing services.

How are pressure sensitive labels made?

A Pressure sensitive label consists of the following parts professionally stacked on top of each other (imagine a sticker sandwich) :

From bottom to top:

Liner – The backing material of the label. The liner protects the adhesive and effectively allows for storage and shipping of the pressure sensitive label.

Release Coat – Have you ever wondered why your sticker comes off of the paper you receive it on easily, but the minute you put it on any other surface it sticks? Well that is because if the release coat. Imagine a release coat as sticker PAM, and its job is to not allow the adhesive to completely bond to the liner. Silicone is a popular material for a release coat to be made of.

Adhesive – To put it simply, the adhesive is the part of the label that sticks. Adhesives can vary greatly from being permanent, temporary, water dissolvable, ultra removable, you name it! 

Face stock – This is the material that the ink is printed directly onto. The two main types of materials that are used for this are usually papers and films. Papers are going to be the cheaper option here, but they are much less durable. Films are the materials companies mostly use for medical regulations, weatherproof options, heat resistance. Films are going to cost a bit more to produce for these added benefits however.

Top Coat – Your top coat is going to be something that serves a couple purposes. The first being to protect the printed inks on the face stock, and the other purpose is to provide finishes to the label. Examples of finishes would be a gloss finish, matte finish, etc… In short, the top coat protects the label & can make it look even better!

Related Categories